
After New Shopify store update to opt to Checkout extensibility additional scripts don’t fire & Google ads script can’t be added directly to shopify. In this post we will show you how to setup Google ads custom pixel on Shopify store in less than 10 minutes.
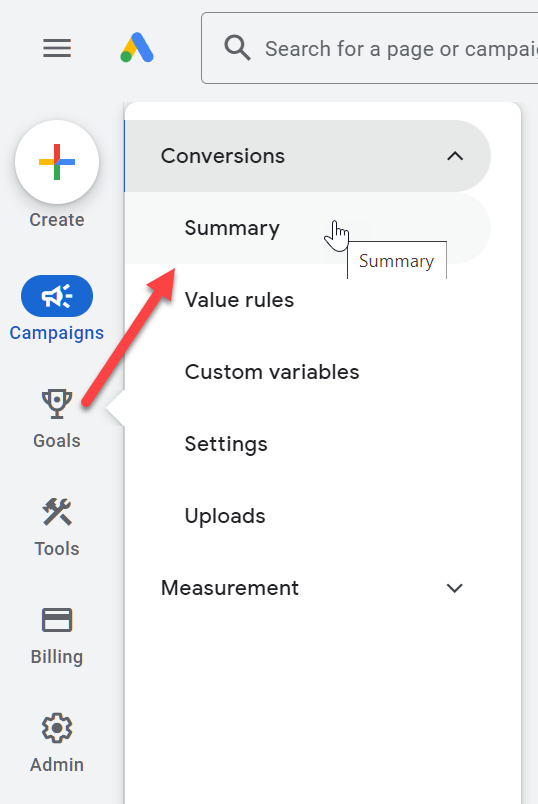
Go to Conversions and click on the blue button that says +New Conversion action
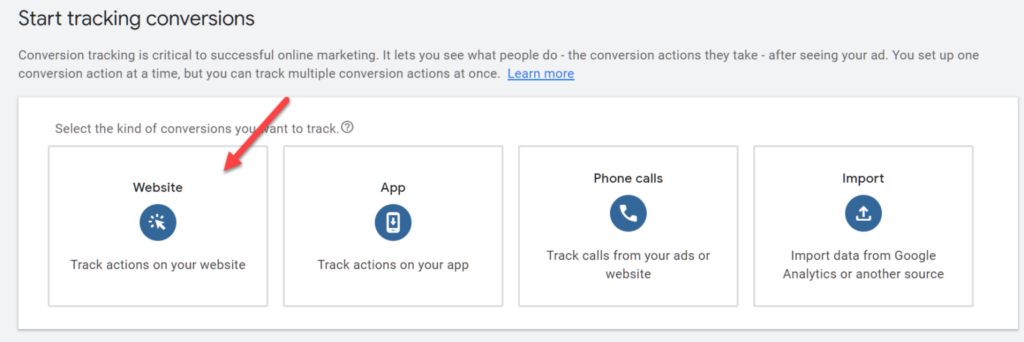
Now Select website as conversion method to track conversions on your shopify store.
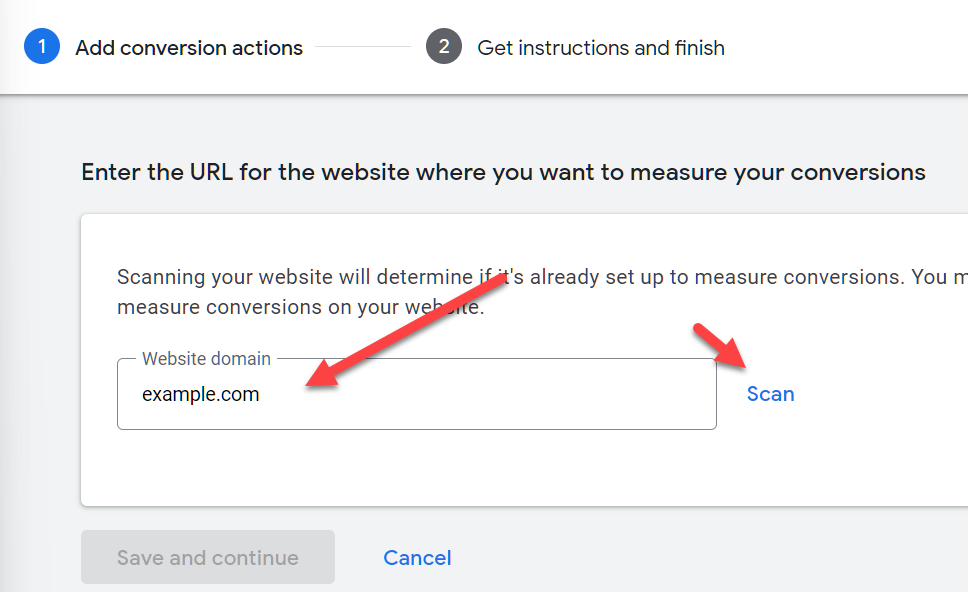
Now Enter your store address and click scan
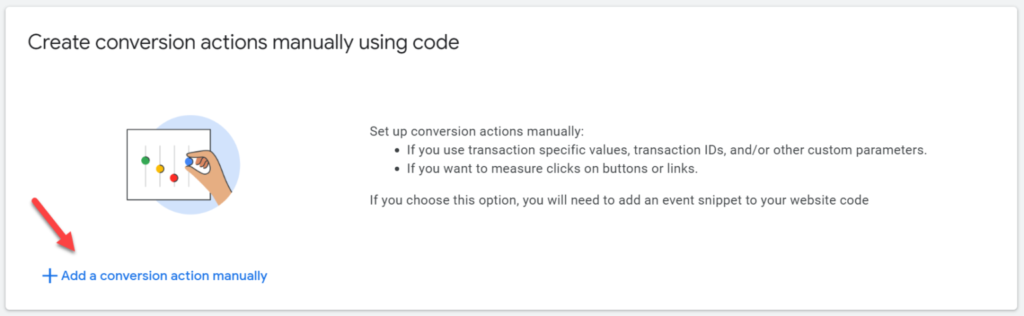
Click on +Add Conversion Action Manually
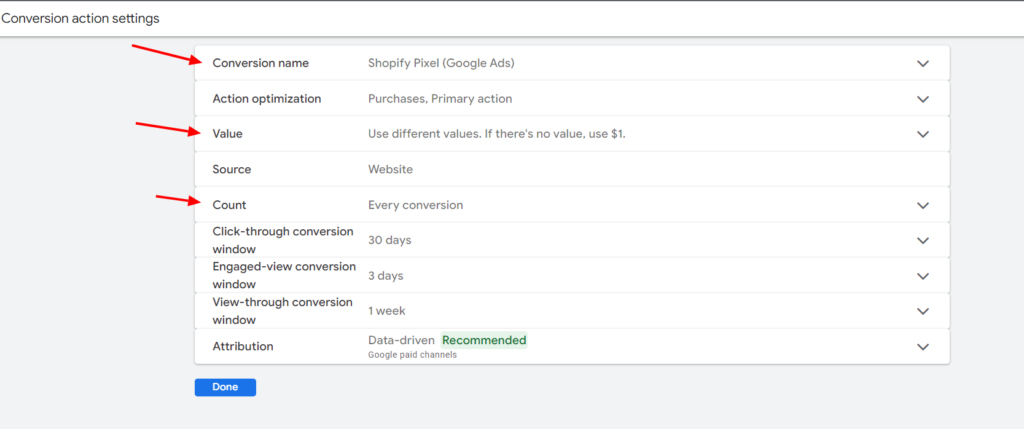
Click on Done and Then Select Tag setup and install manually

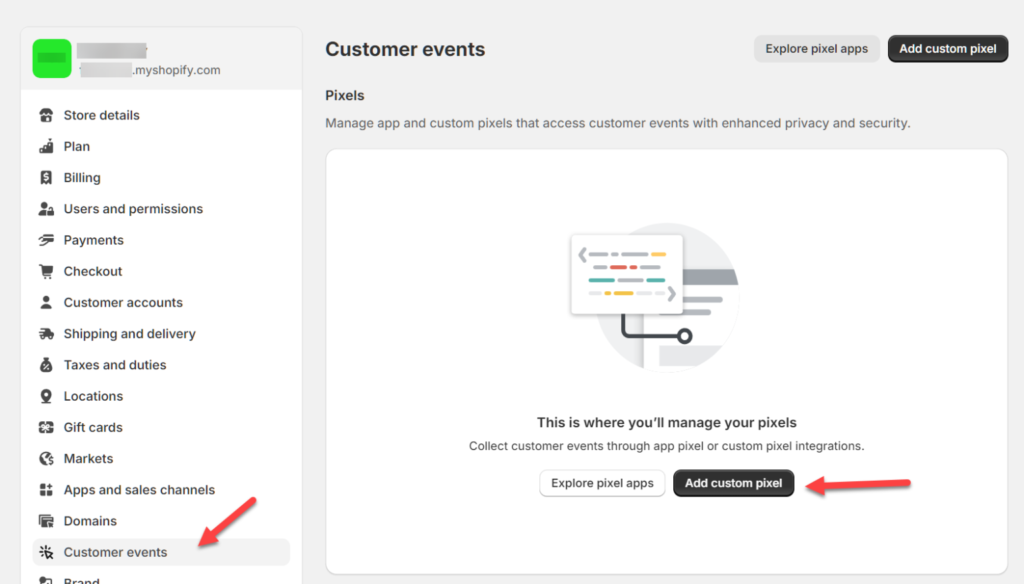
Now go to Shopify > Settings > Customer Events
And click on Add custom pixel
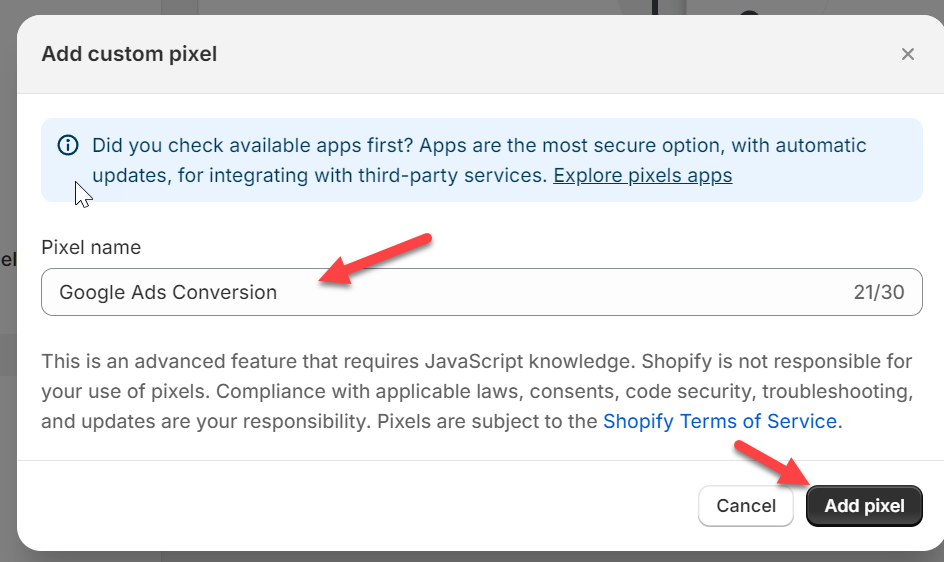
You can give it any pixel name, but I will call it Google Ads Conversion. Now click on Add pixel.
Paste the below code in the Shopify pixel.
// Created by FeedArmy V1.03
const script = document.createElement('script');
script.setAttribute('src', 'https://www.googletagmanager.com/gtag/js?id=AW-132456798');
script.setAttribute('async', '');
document.head.appendChild(script);

window.dataLayer = window.dataLayer || [];
function gtag(){dataLayer.push(arguments);}
gtag('js', new Date());
gtag('config', 'AW-1003648725', {'allow_enhanced_conversions':true});

analytics.subscribe("checkout_completed", (event) => {
  gtag('event', 'conversion', {
    send_to: 'AW-132456798/abcdefg123456789',
    transaction_id: event.data?.checkout?.order?.id,
    value: event.data?.checkout?.subtotalPrice?.amount,
    currency: event.data?.checkout?.subtotalPrice?.currencyCode,
    email: event.data?.checkout?.email,
    phone: event.data?.checkout?.phone,
    first_name: event.data?.checkout?.shippingAddress?.firstName,
    last_name: event.data?.checkout?.shippingAddress?.lastName,
    address1: event.data?.checkout?.shippingAddress?.address1,
    address2: event.data?.checkout?.shippingAddress?.address2,
    city: event.data?.checkout?.shippingAddress?.city,
    country: event.data?.checkout?.shippingAddress?.country,
    countryCode: event.data?.checkout?.shippingAddress?.countryCode,
    province: event.data?.checkout?.shippingAddress?.province,
    provinceCode: event.data?.checkout?.shippingAddress?.provinceCode,
    zip: event.data?.checkout?.shippingAddress?.zip
  });
});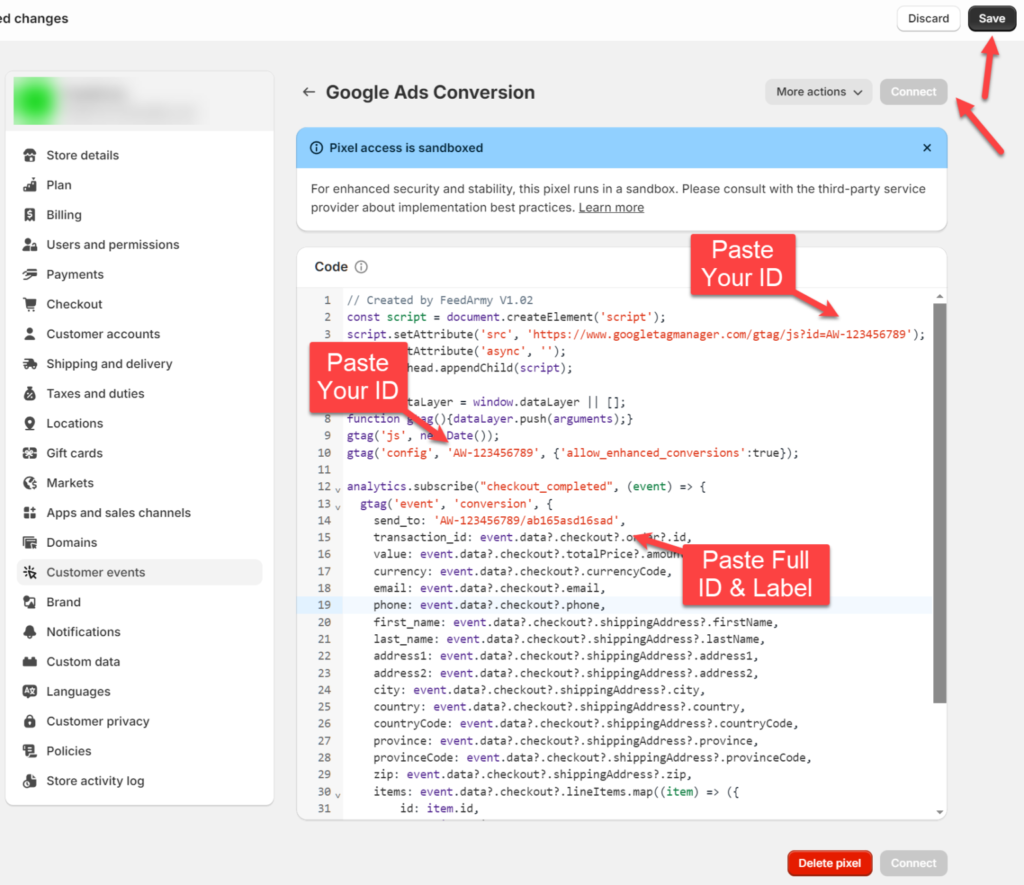
Click on Save on the top and click on connect pixel and conversion tracking is all set.
 Contact Now